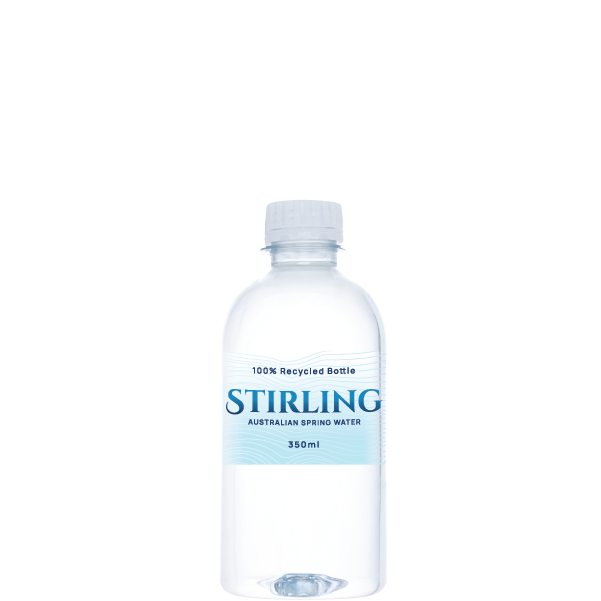
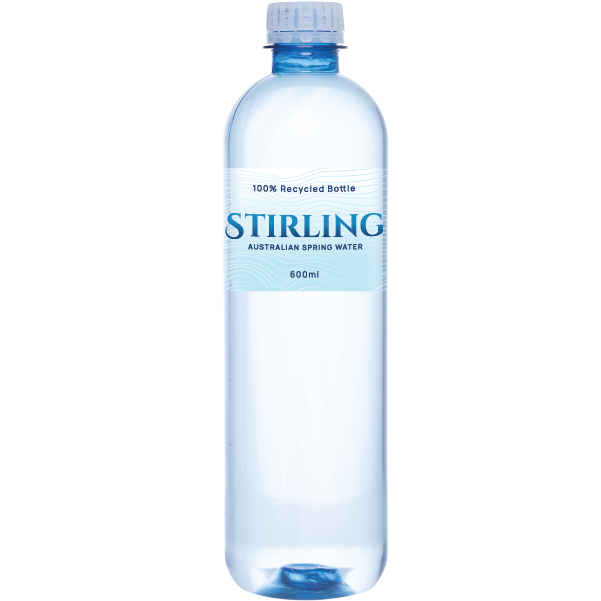
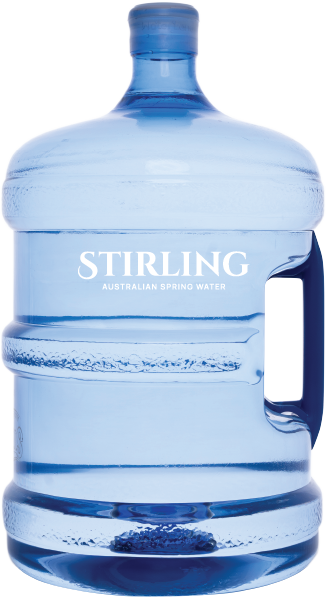
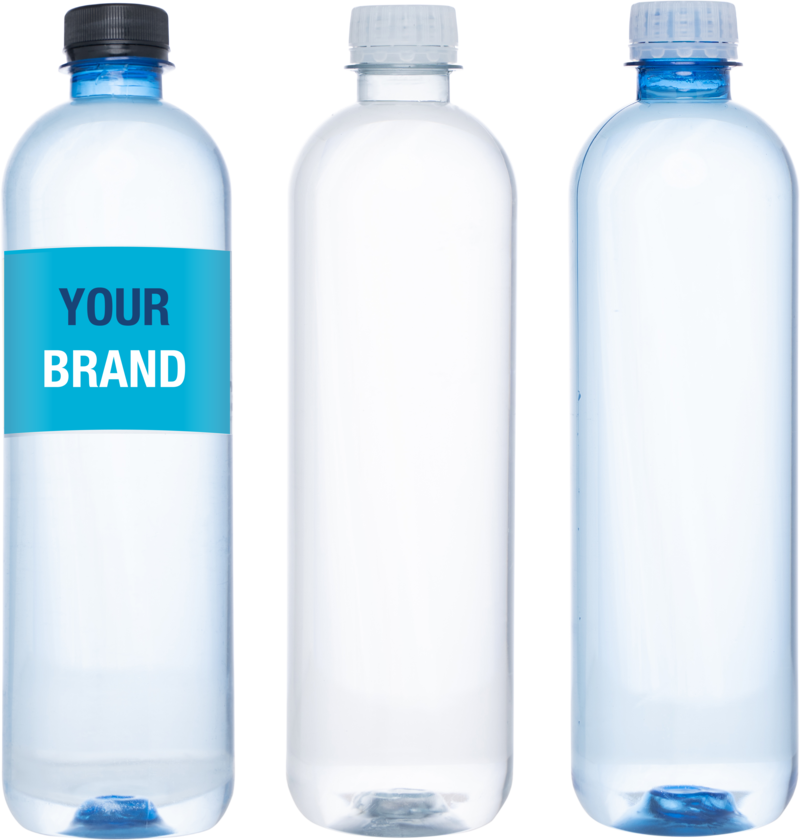
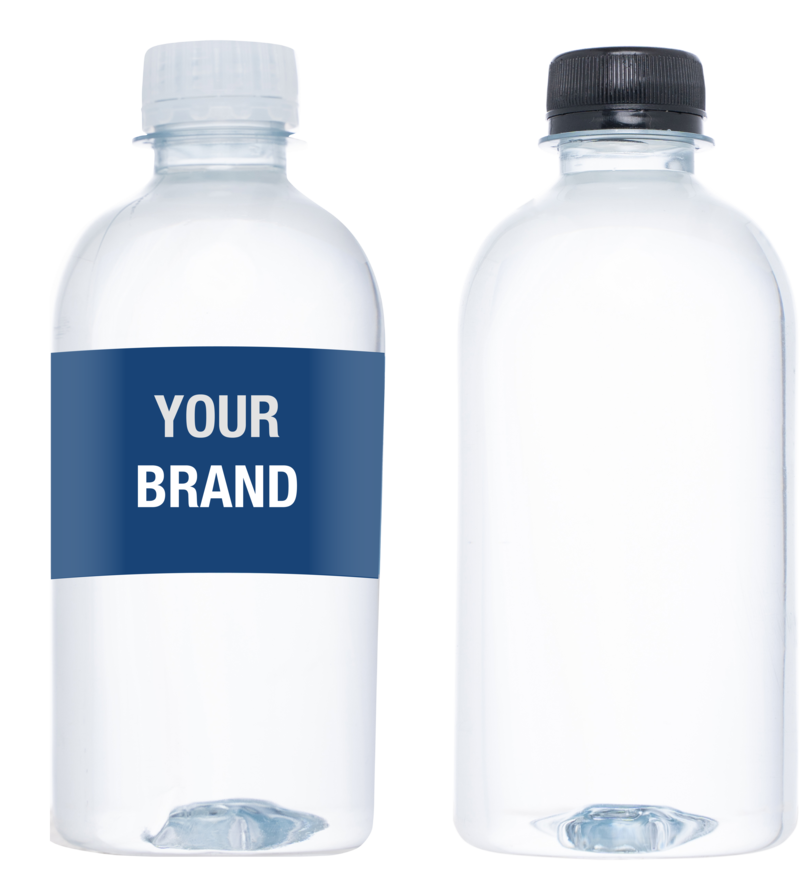
Custom Branded Water Bottles
Click on "Order Now" to place your order for a specific quantity, upload your company logo
and have a representative be in touch. Or give us a call to get a quote
Water COOLERS & ACCESSORIES
We also sell a range of second hand water coolers and dispensers. Call us to find out more.
Water Dispensers
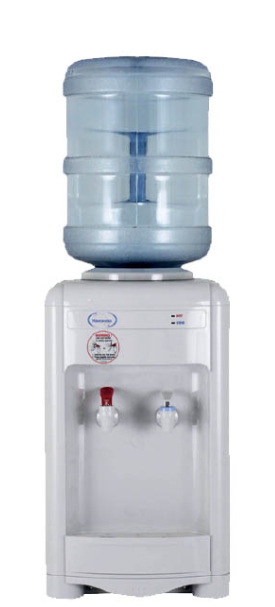
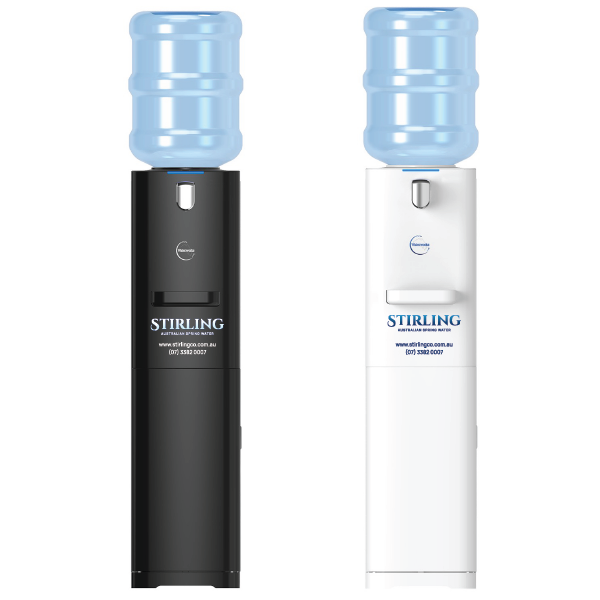
Benchtop Hot, Cool or Cold Cooler
BUY: $285.00 (Cool/Cold)
$305.00 (Hot/Cold)
HIRE: $120.00 (Cool/Cold)
$135.00 (Hot/Cold)
$305.00 (Hot/Cold)
HIRE: $120.00 (Cool/Cold)
$135.00 (Hot/Cold)
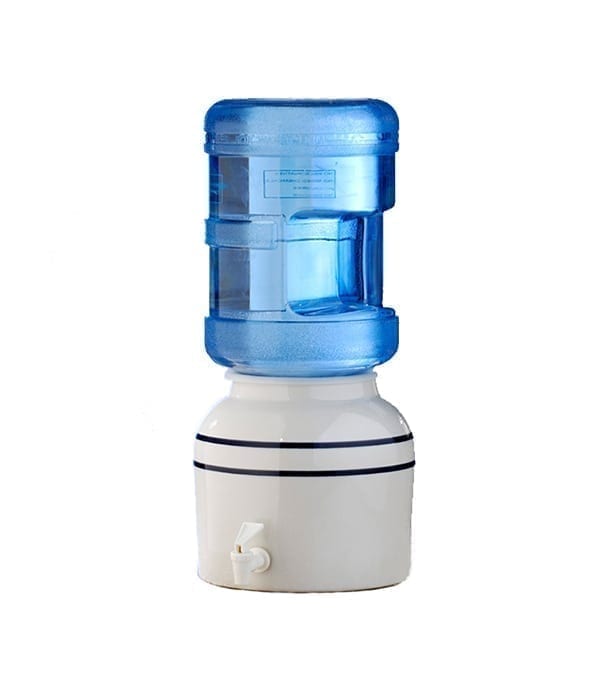
Ceramic Dispenser
$45.00
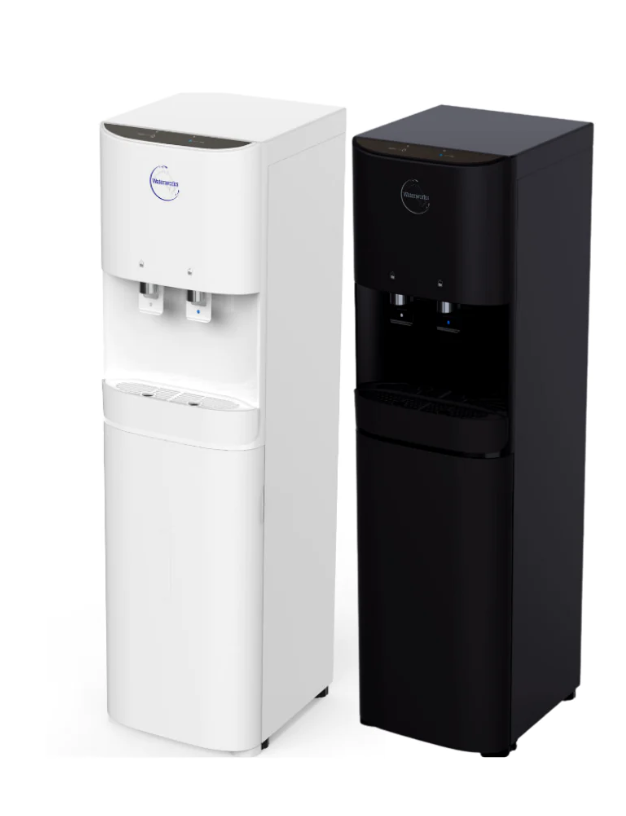
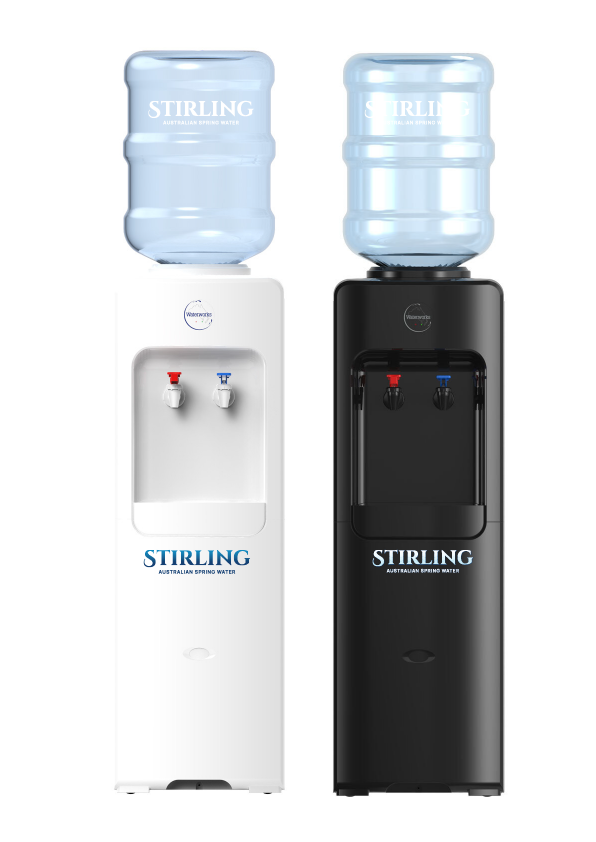
Bottom Loaded Cooler
BUY: $385.00 (Cooler)
$400.00 (Hot/Cold)
HIRE: $150.00 (Cooler)
$165.00 (Hot/Cold)
$400.00 (Hot/Cold)
HIRE: $150.00 (Cooler)
$165.00 (Hot/Cold)
Touchless Coolers
BUY: $395.00
HIRE: $175.00
HIRE: $175.00
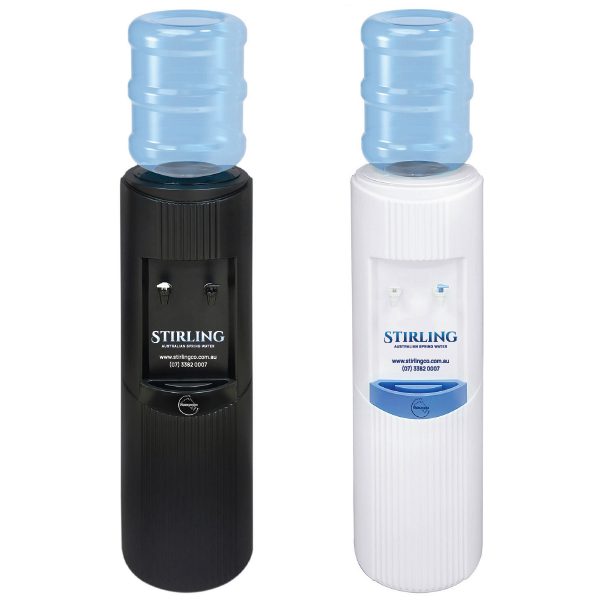
Glacier Coolers
BUY: $270.00 (Cool/Cold)
$290.00 (Hot/Cold)
HIRE: $99.00 (Cool/Cold)
$120.00 (Hot/Cold)
$290.00 (Hot/Cold)
HIRE: $99.00 (Cool/Cold)
$120.00 (Hot/Cold)
Executive Coolers
BUY: $295.00 (Cool/Cold)
$305.00 (Hot/Cold)
HIRE: $120.00 (Cool/Cold)
$130.00 (Hot/Cold)
$305.00 (Hot/Cold)
HIRE: $120.00 (Cool/Cold)
$130.00 (Hot/Cold)
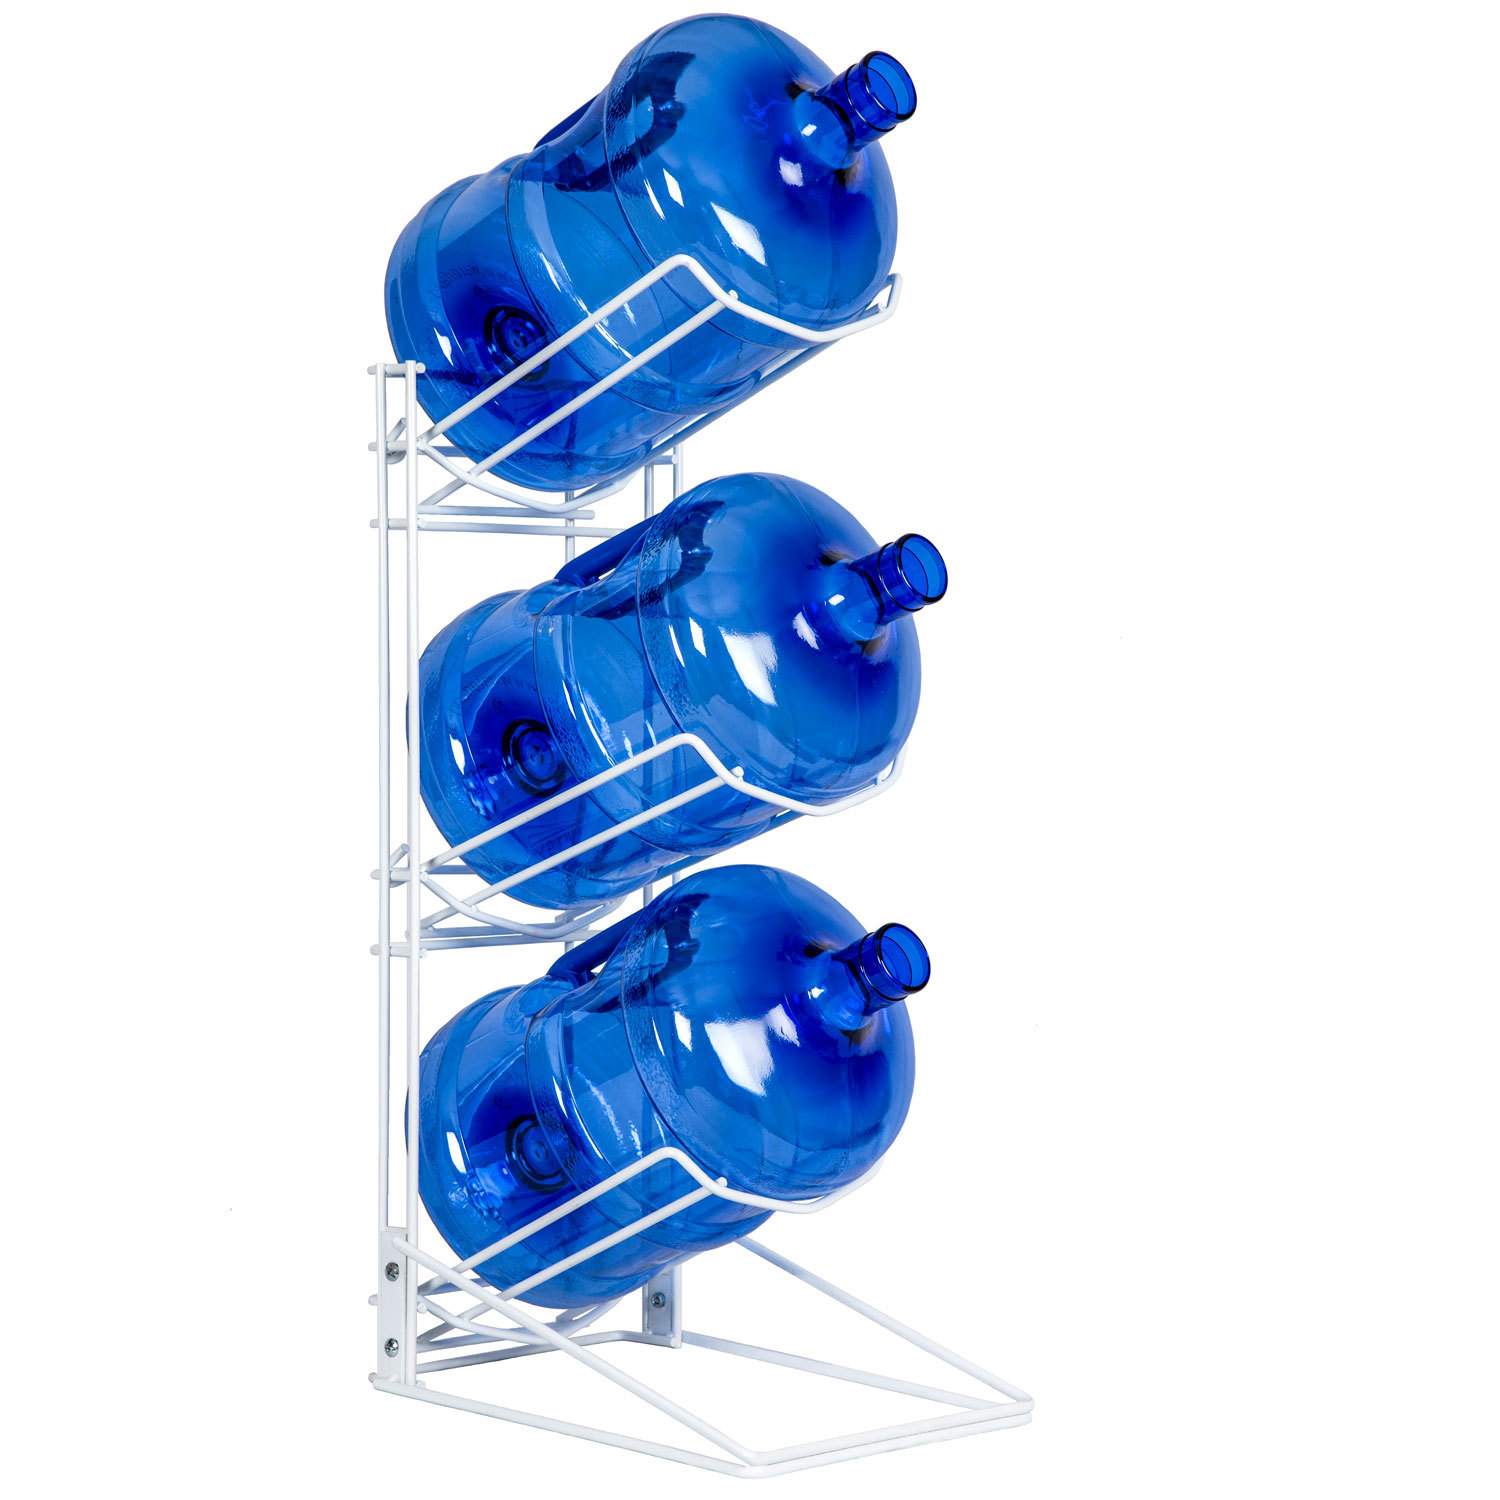
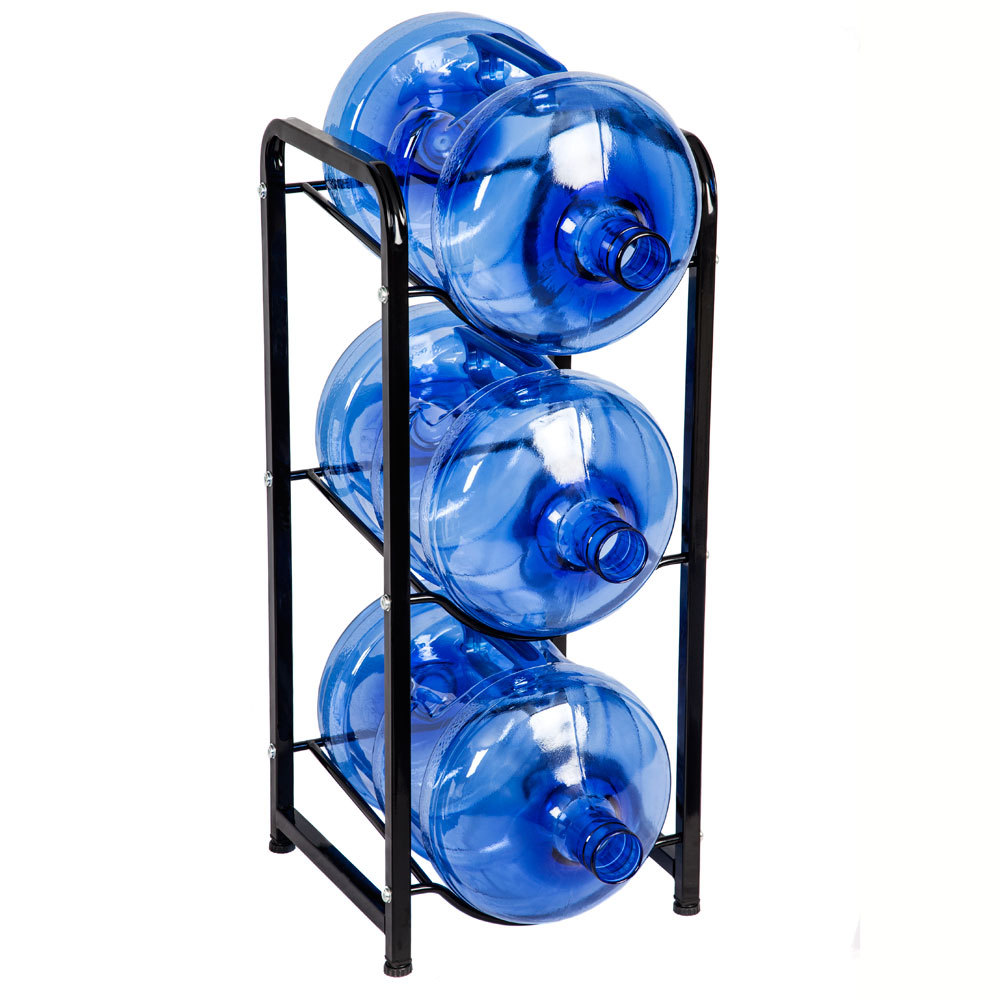
Racks


Our Latest Offers and Promotions
")

OUR DELIVERY AREAS
Please note, delivery can be arranged to other areas
Brisbane
- A-C
- Alexandria Hills
- Bardon
- Bulimba
- Carina
- Clayfield
- Cannon Hill
- Capalaba
- Carindale
- Cleveland
- Coorparoo
- D-E
- Darra
- Dutton Park
- Eight Mile Plains
- Eagle Farm
- F-I
- Forest Lake
- Fortitude Valley
- Hawthorne
- Hendra
- Herston
- Highgate Hill
- Indooroopilly
- K-M
- Kangaroo Point
- Kelvin Grove
- Kenmore
- Lyton
- Milton
- Morningside
- Moorooka
- Mount Cotton
- N-R
- Newstead
- New Farm
- Norman Park
- Oxley
- Paddington
- Redland Bay
- Red Hill
- Rocklea
- S
- Seven Hills
- Spring Hill
- St Lucia
- Sunny Bank
- T-W
- Teneriffe
- Thorlands
- Toowong
- Wellington Point
- Wynnum
Northern Brisbane
- A-C
- Aspley
- Arana Hills
- Aspley
- Bald Hills
- Banyo
- Boondall Waters
- Brendale
- Brighton
- Carseldine
- Chermside
- Clear Mountain
- D-E
- Deagon
- Everton Park
- F-I
- Ferny Hills
- Fitzgibbon
- Geebung
- Hamilton
- K-M
- Lutwyche
- McDowall
- Mitchelton
- N-R
- Nundah
- S
- Sandgate
- Shorncliffe
- Stafford Heights
- Strathpine
- T-W
- Warner
- Wavell Heights
- Stafford Heights
South Brisbane
- A-C
- Alberton
- Annerley
- Birkdale
- Boronia Heights
- Browns Plains
- Camira
- Capalaba
- Carole Park
- Chelmer
- Crestmead
- D-E
- Daisy Hill
- Eagleby
- F-I
- Greenbank
- Heathwood
- Holland Park
- K-M
- Loganholme
- N-R
- Park Ridge
- Parkinson
- Regents Park
- Richlands
- Rochedale
- S
- Salisbury
- Sheldon
- Slacks Creek
- South Brisbane
- Springfield
- Springwood
- Stapylton
- T-W
- Tarragindi
- Underwood
- Wacol
- Waterford West
- Wishart
Gold Coast
- B
- Benowa
- Biggera Waters
- Broadbeach
Waters - Broadbeach
- Bundall
- C-L
- Carrara
- Clear Island
- Clear Island
Waters - Gaven
- Gilston
- Highland Park
- Labrador
- M-O
- Main Beach
- Mermaid Beach
- Mermaid Waters
- Merrimac
- Molendinar
- Nerang
- Oxenford
- Miami
- P-W
- Pacific Pines
- Reedy Creek
- Robina
- Southport
- Surfers Paradise
- Tallai
- Varsity Lakes
- Worongary
Northern Gold Coast
- B-J
- Beenleigh
- Coombabah
- Coomera
- Coomera Waters
- Helensvale
- Hope Island
- Jacobs Well
- K-Y
- Kingsholme
- Ormeau
- Oxenford
- Paradise Point
- Pimpama
- Runaway Bay
- Yatala
- Willow Vale
South Gold Coast
- B-C
- Bilinga
- Burleigh Heads
- Coolangatta
- Currumbin
- E-T
- Currumbin Waters
- Elanora
- Mudgeeraba
- Palm Beach
- Tallebudgera
- Tallebudgera Valley
- Tugan
Northern Rivers Region
- B-C
- Banora Point
- Bilambil
- Bilambil Heights
- Bungalora
- Chinderah
- Cudgen
- F-T
- Fingal Heads
- Hastings Point
- Kingscliff
- Springbrook
- Terranora
- Tweed Heads